

Ask only for what you’ll use
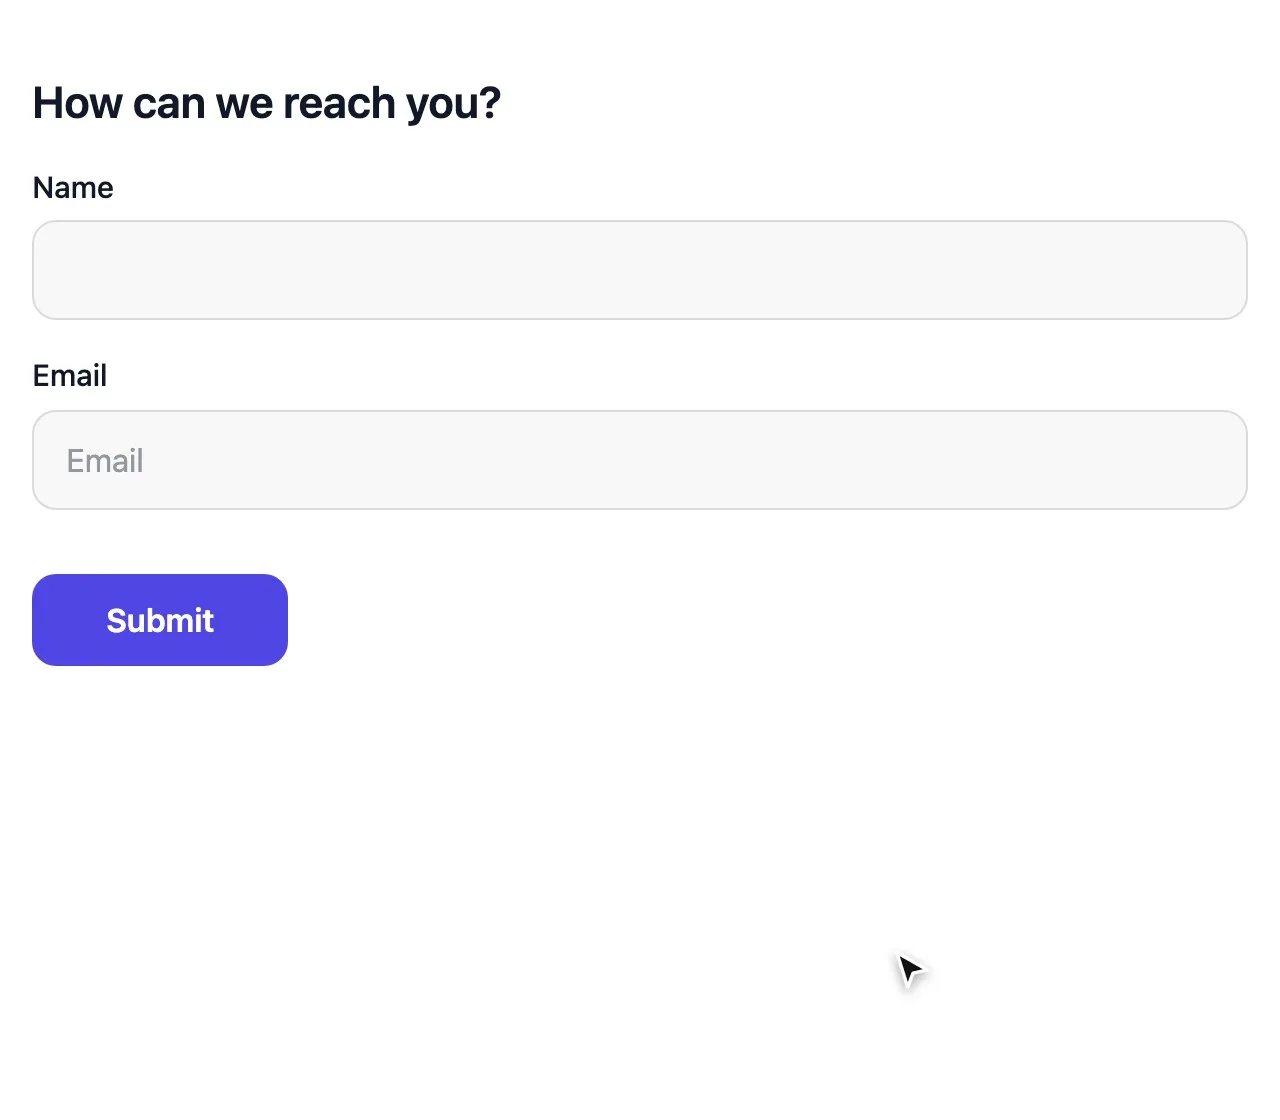
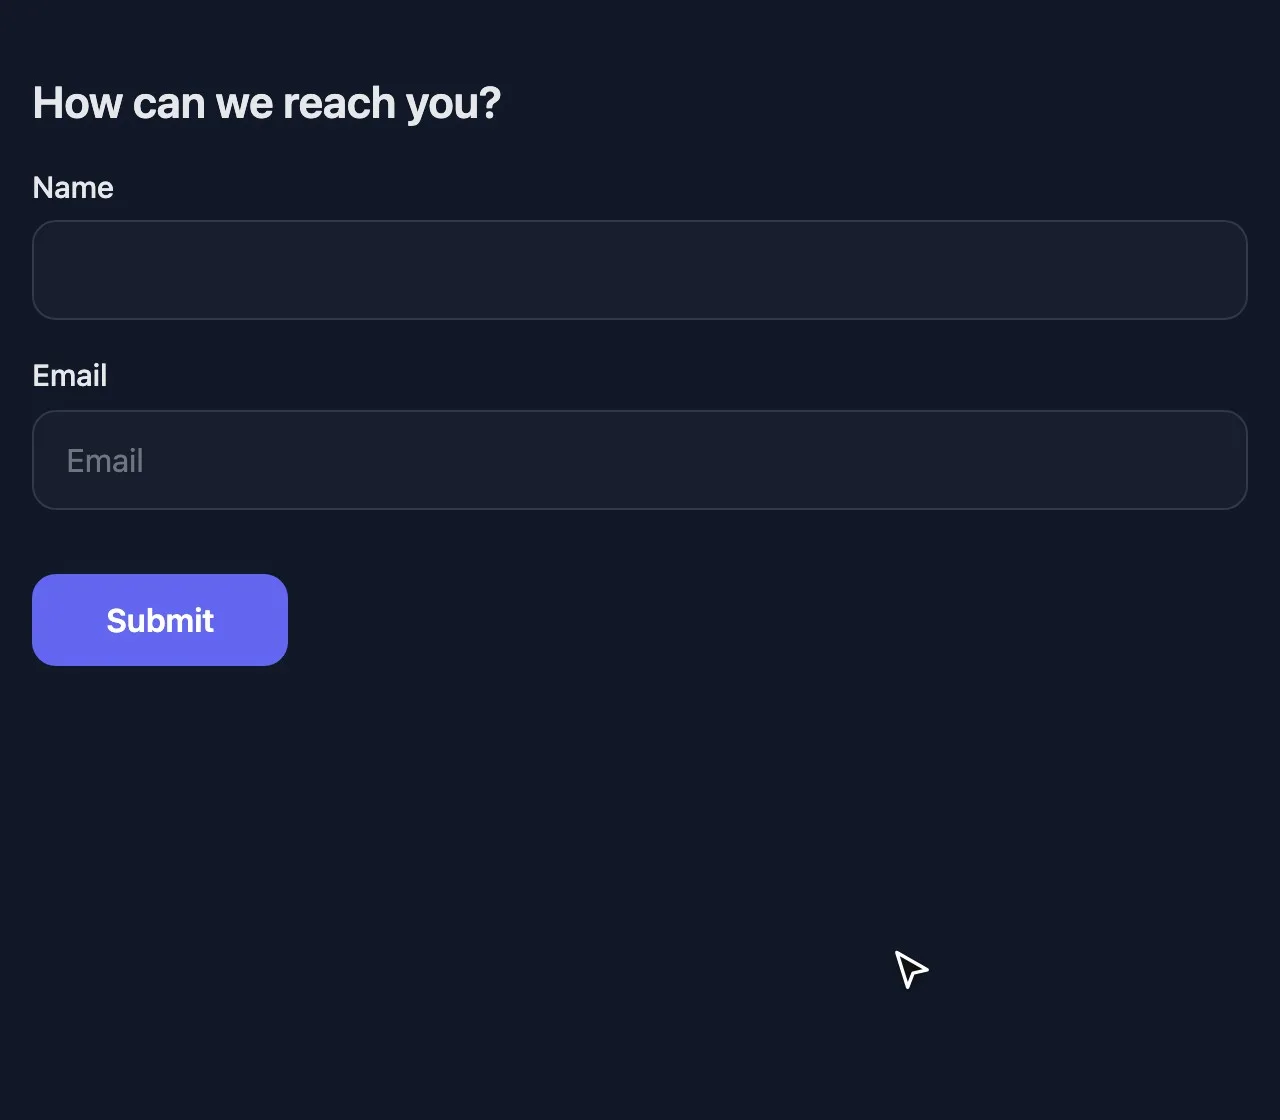
Every extra field costs sign-ups. Start with a Contact info question for name and email, then add only the details this event needs.
- Multiple choice for the session or ticket type.
- Number for the number of guests.
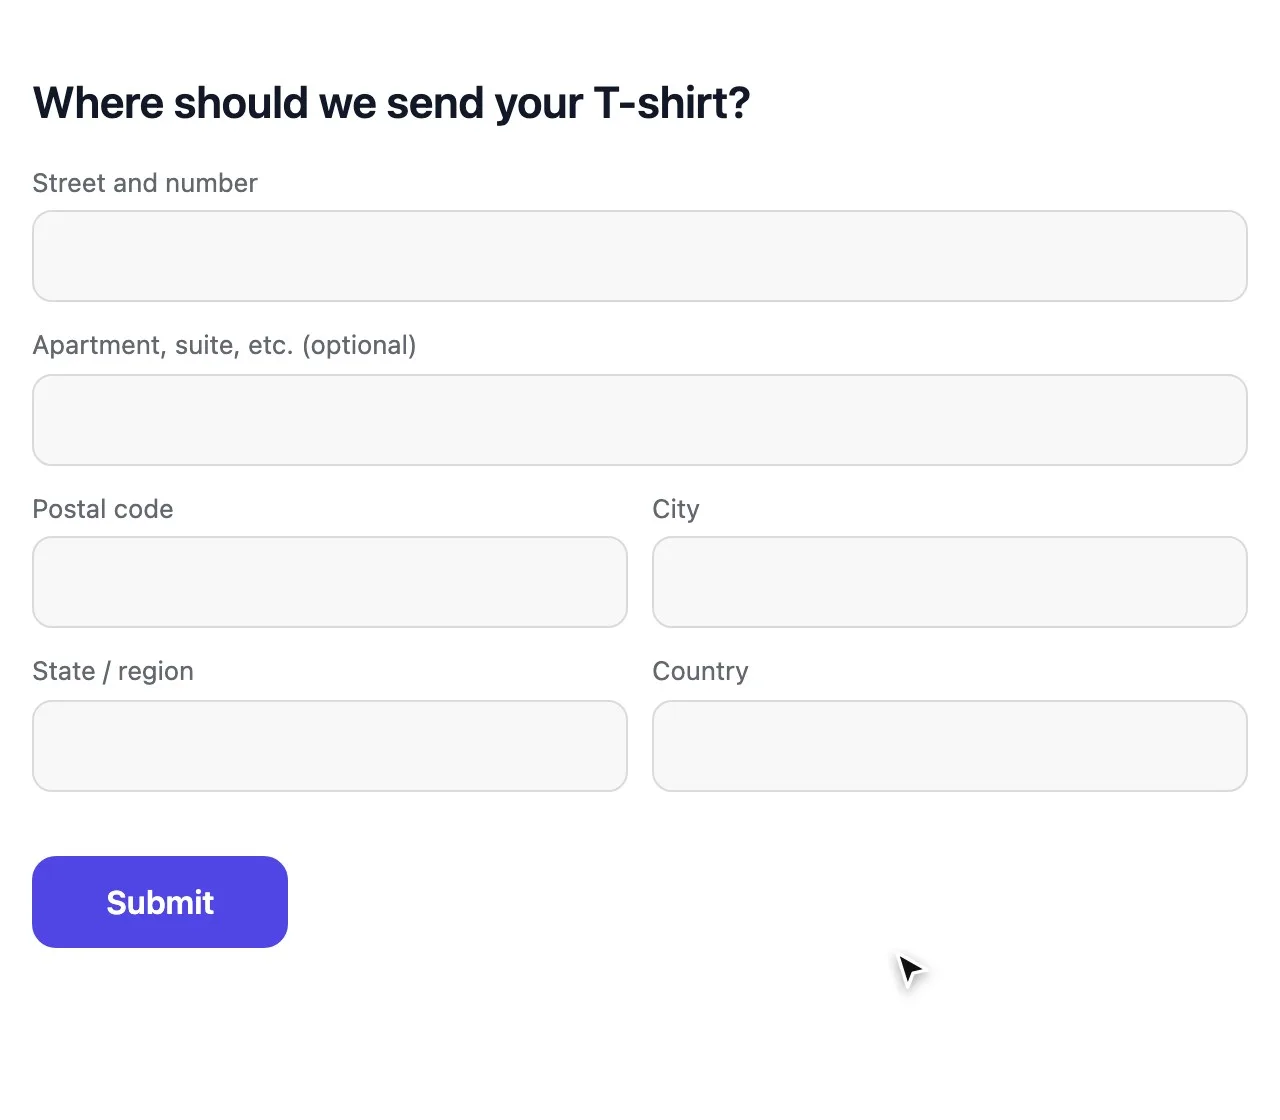
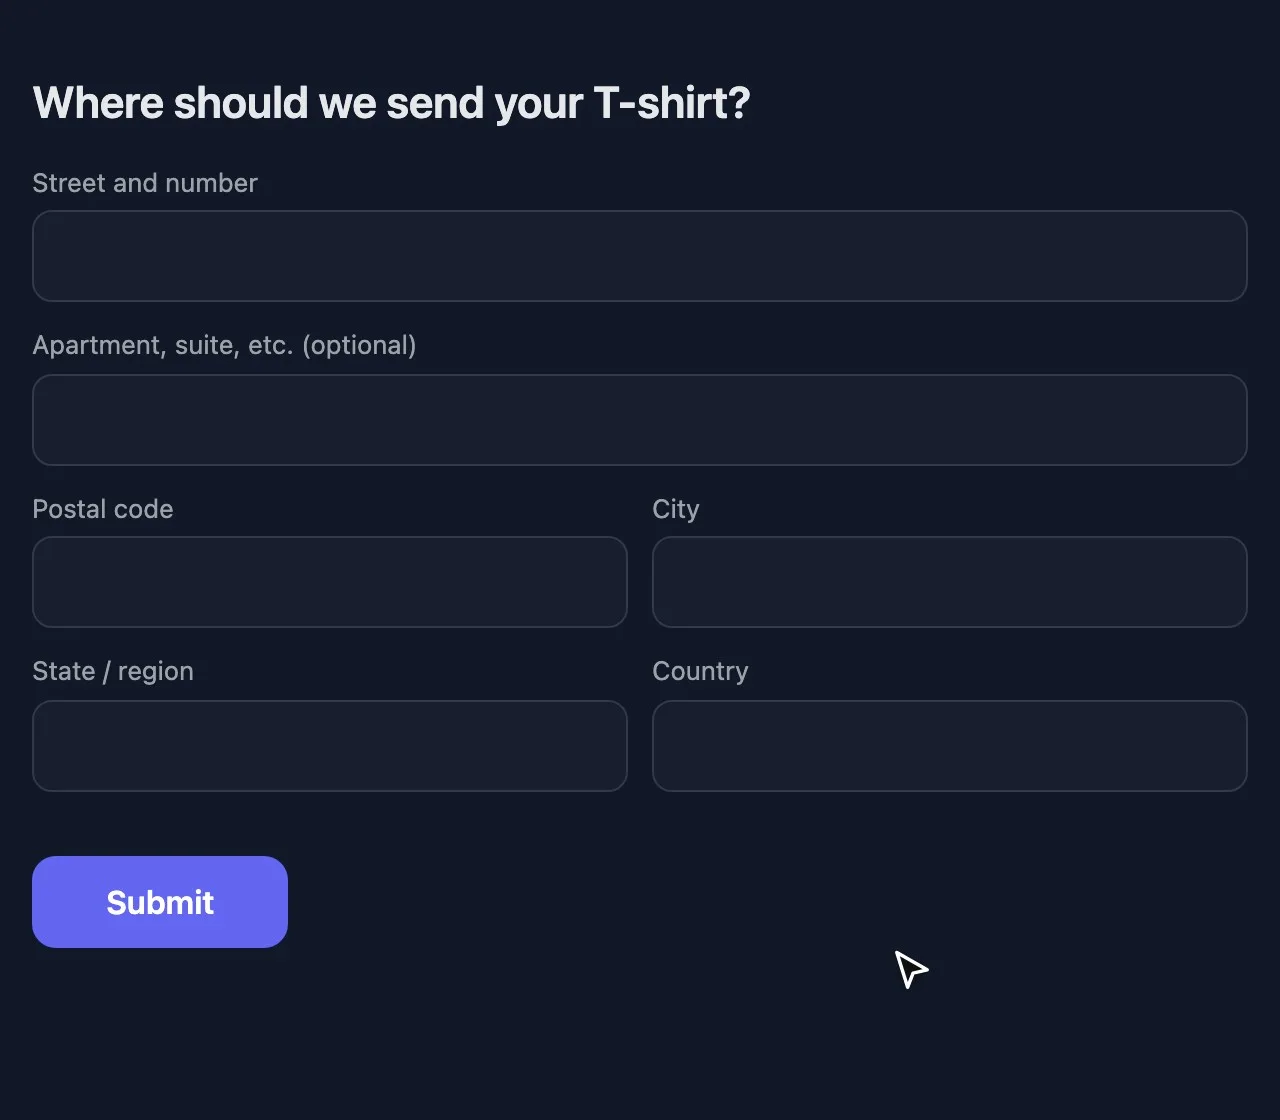
- Short text for dietary needs or a T-shirt size.
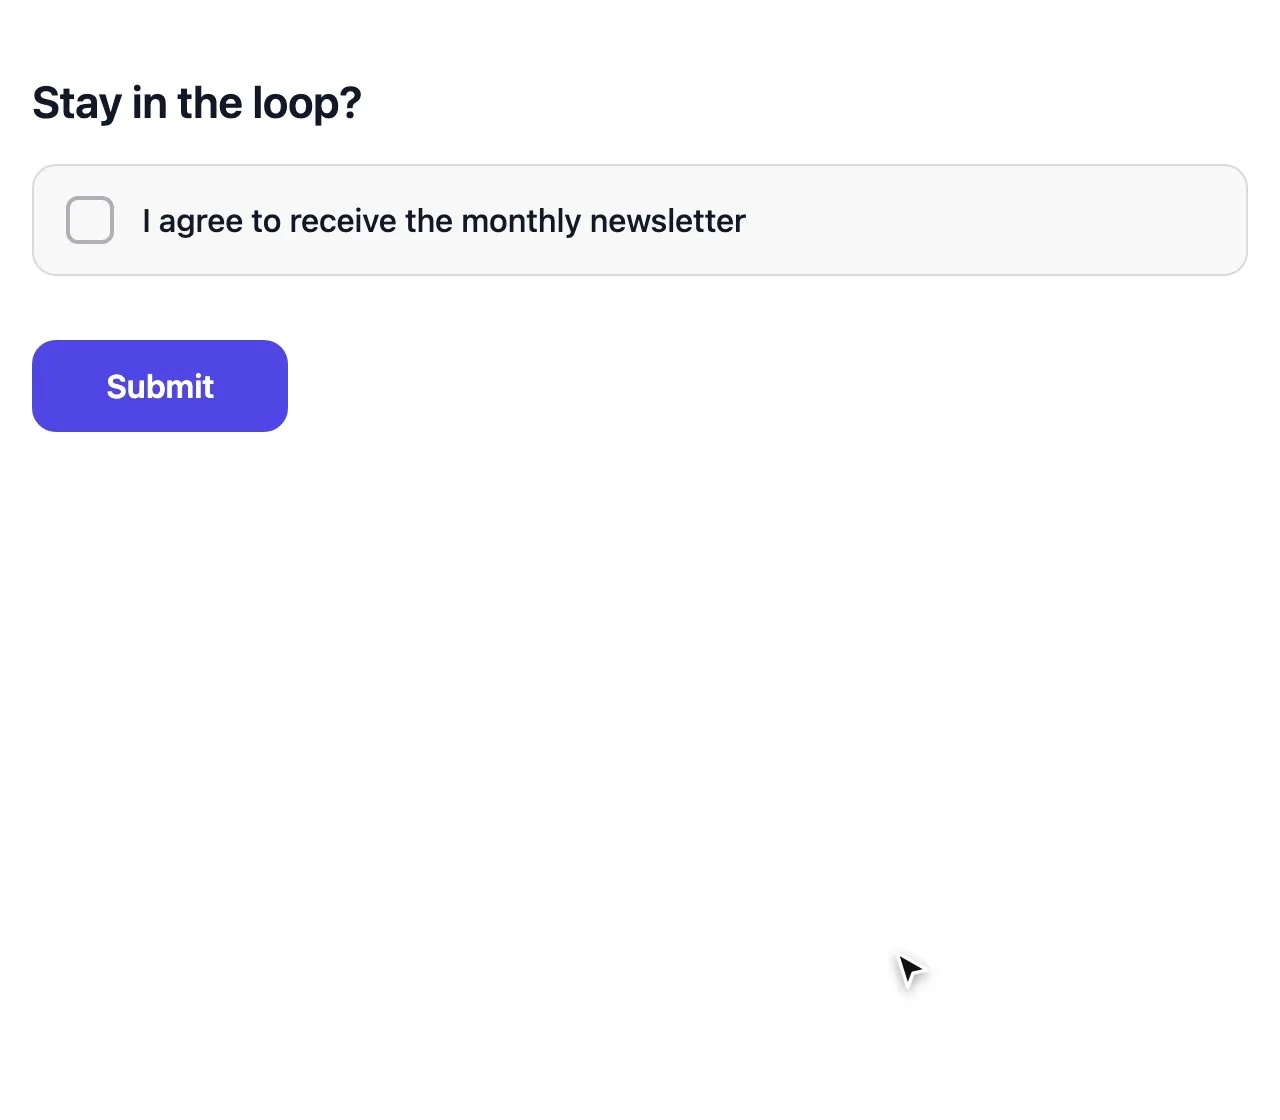
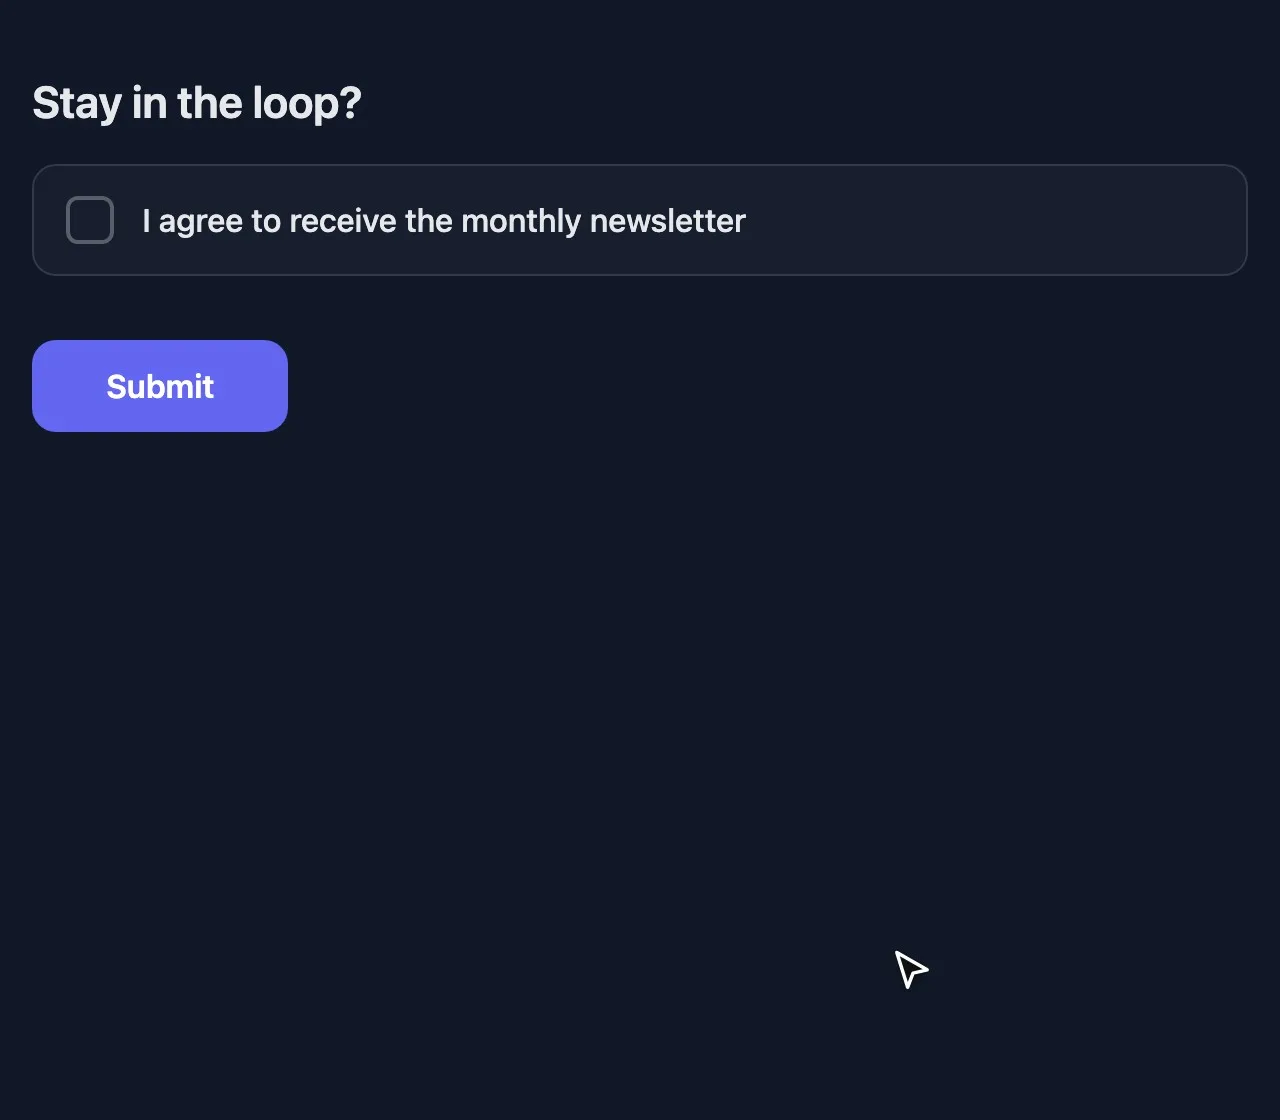
- Consent for photo or privacy terms.
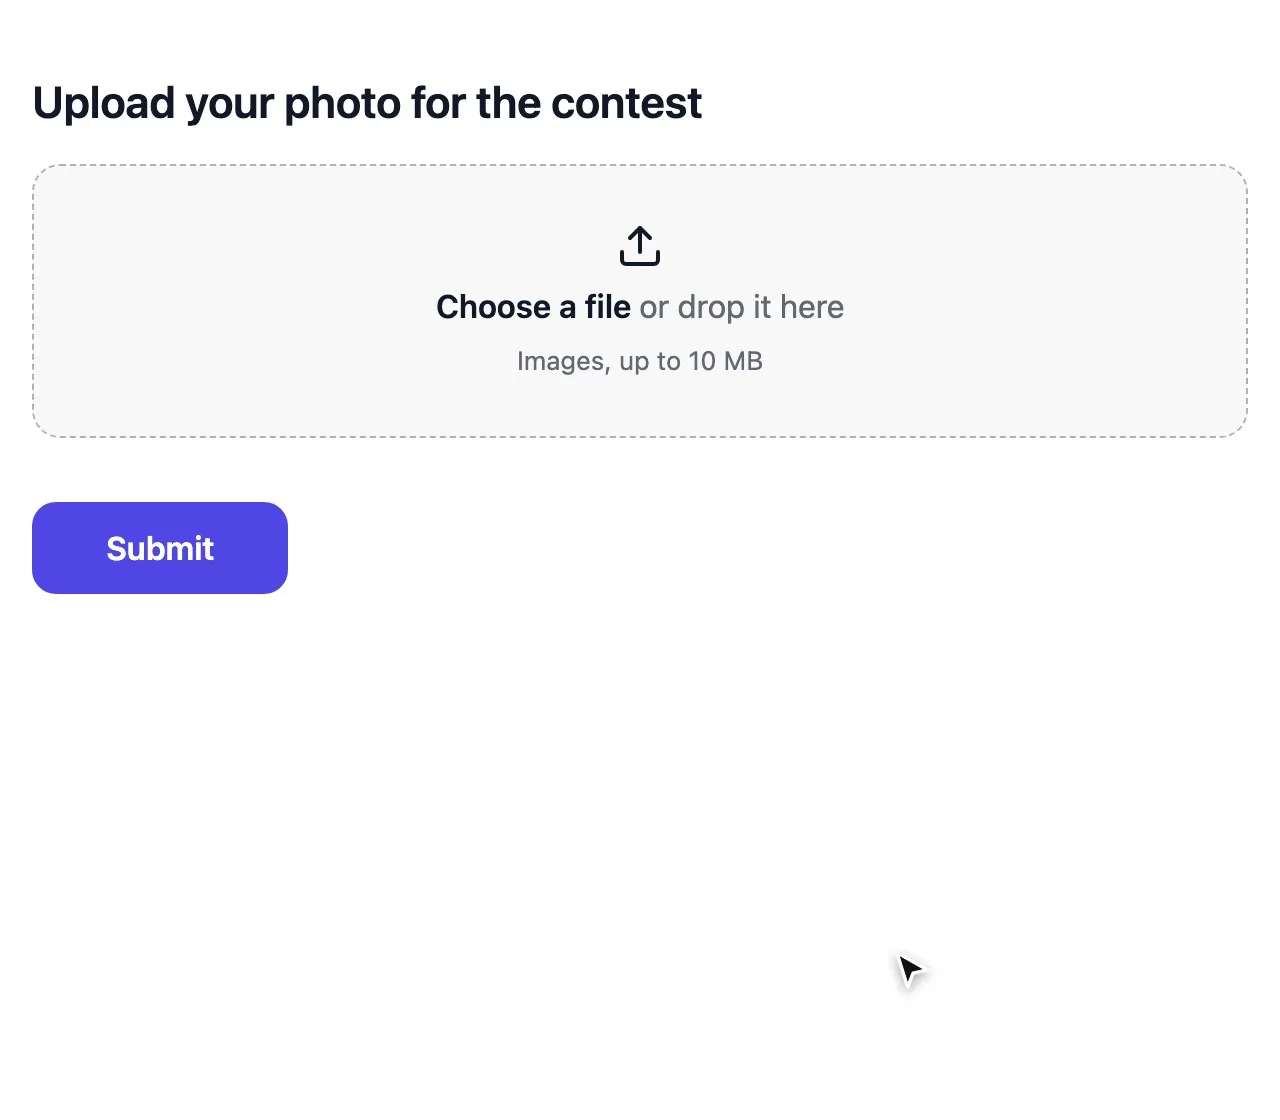
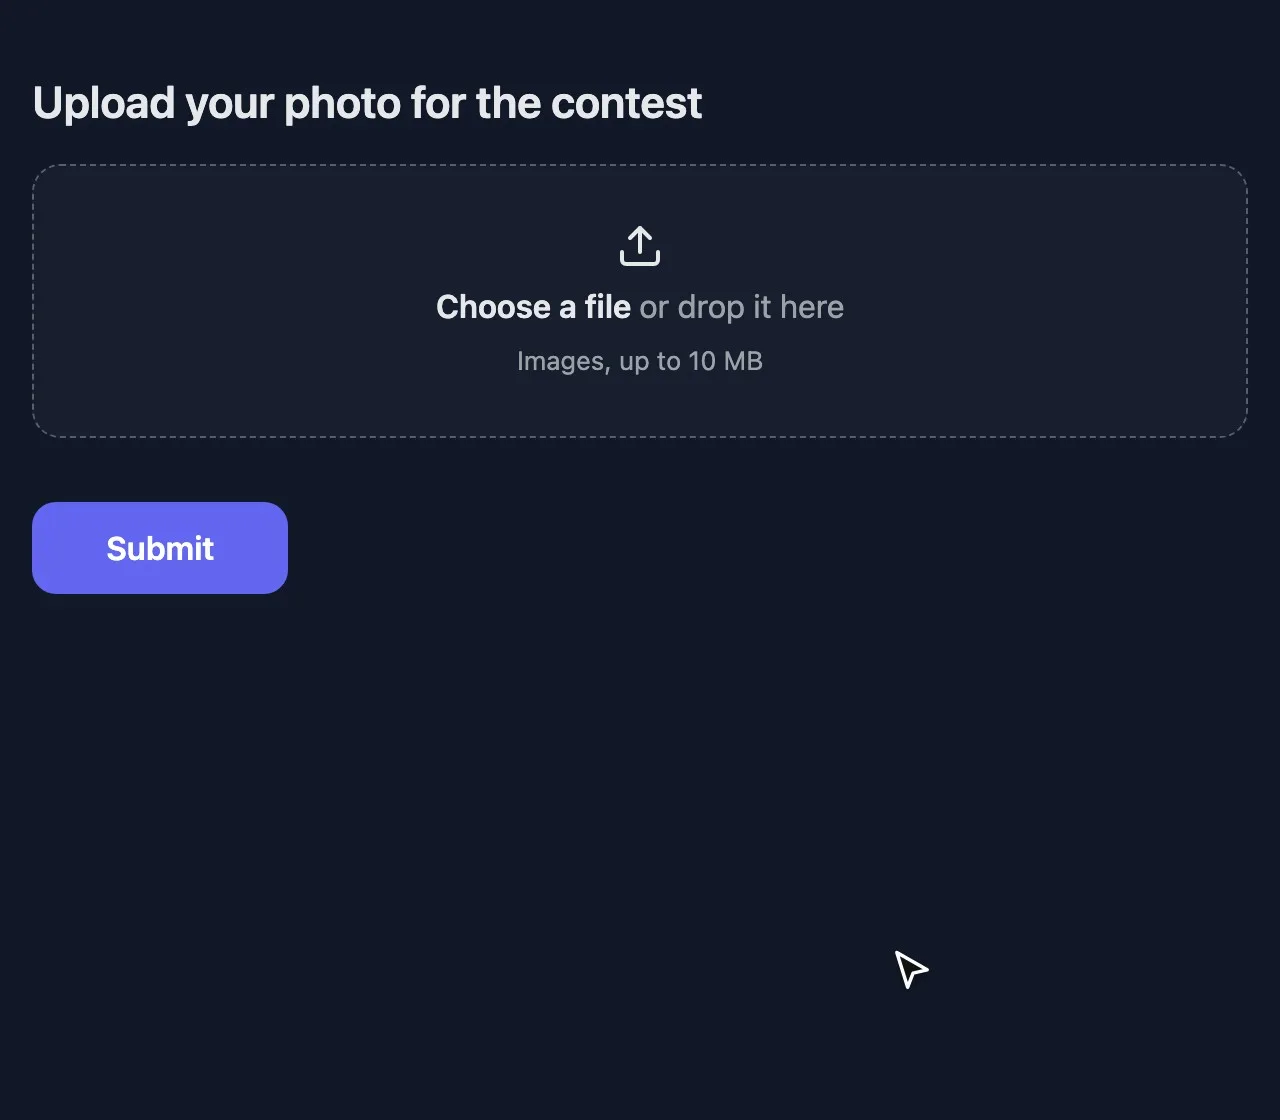
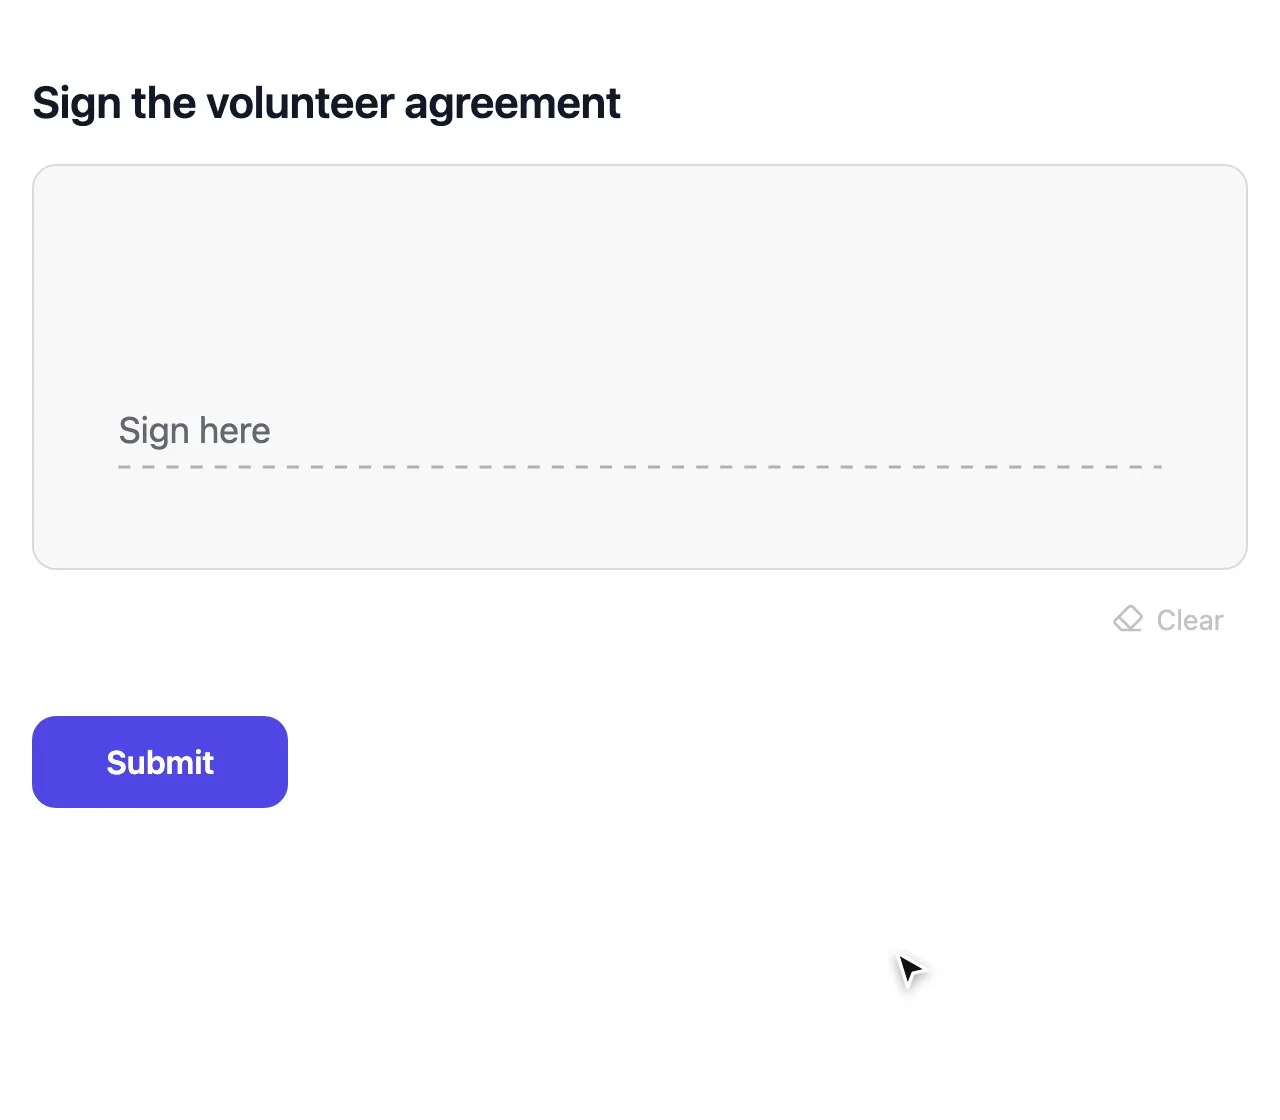
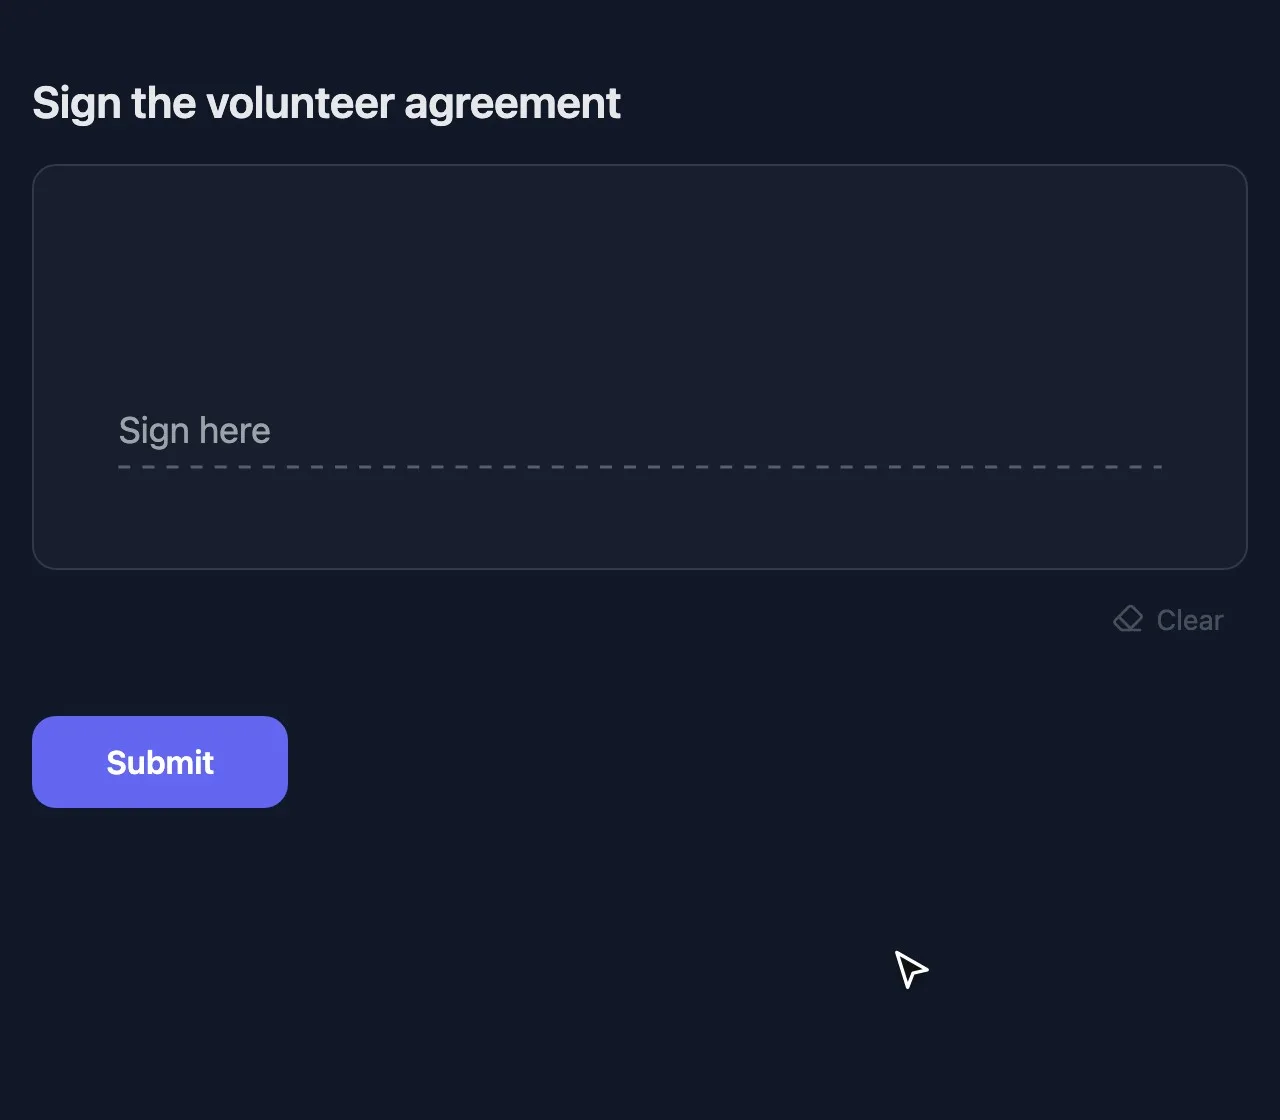
- File upload for documents up to 10 MB, and Signature for permission slips.
With conditional logic, follow-up questions only show to people they apply to, like guest details after a yes.
Limited places
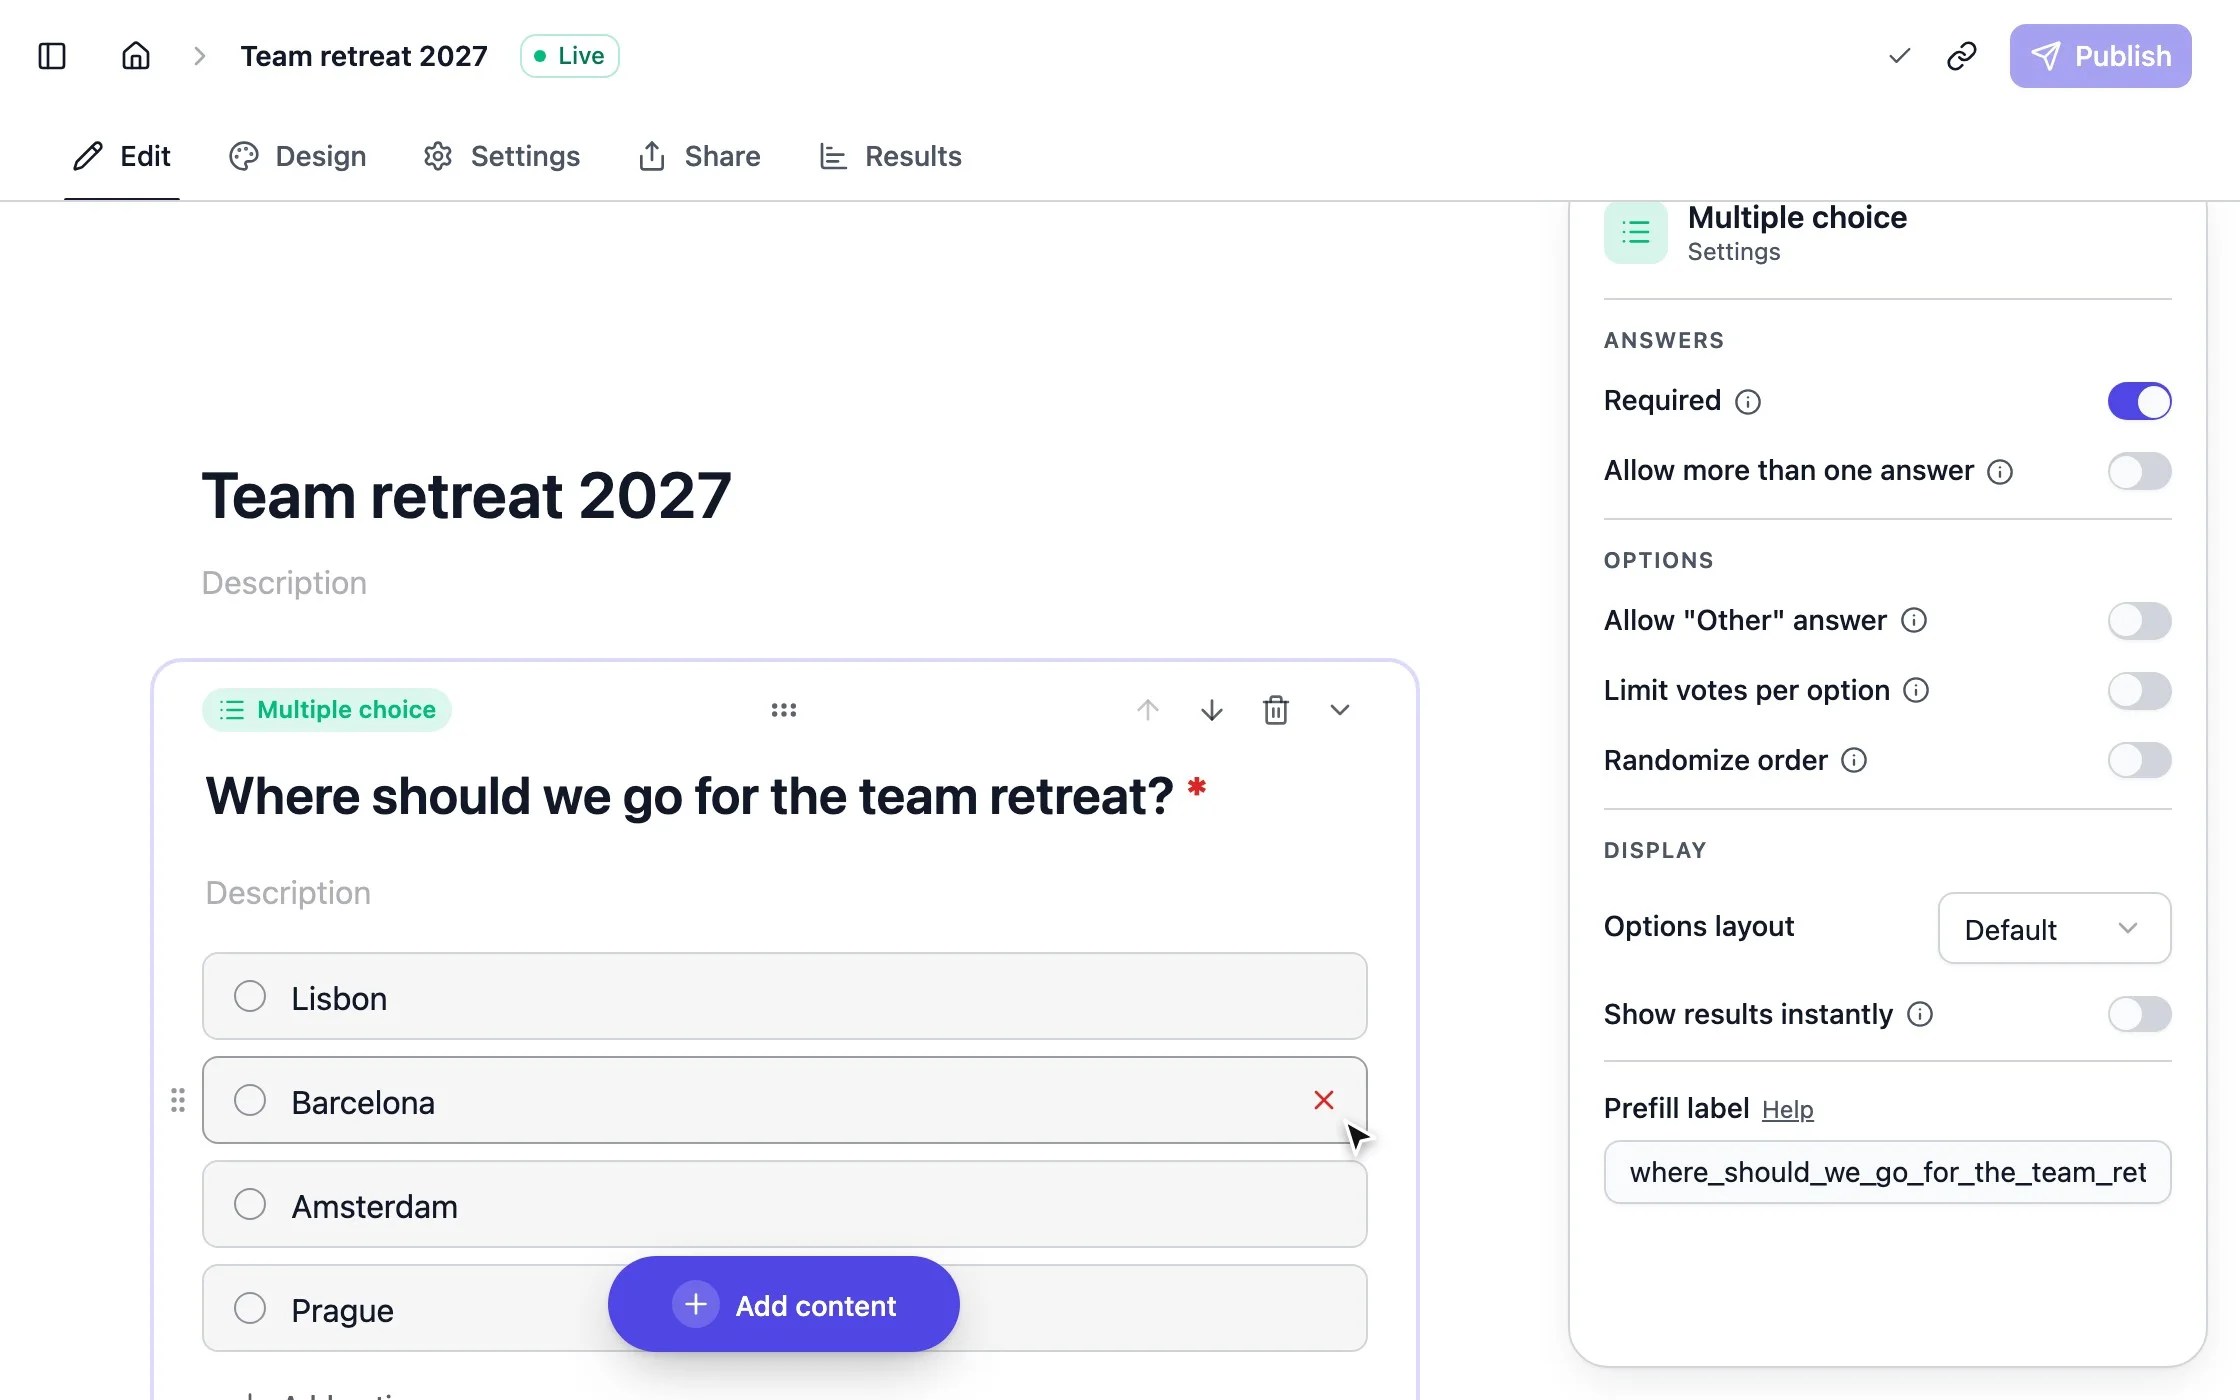
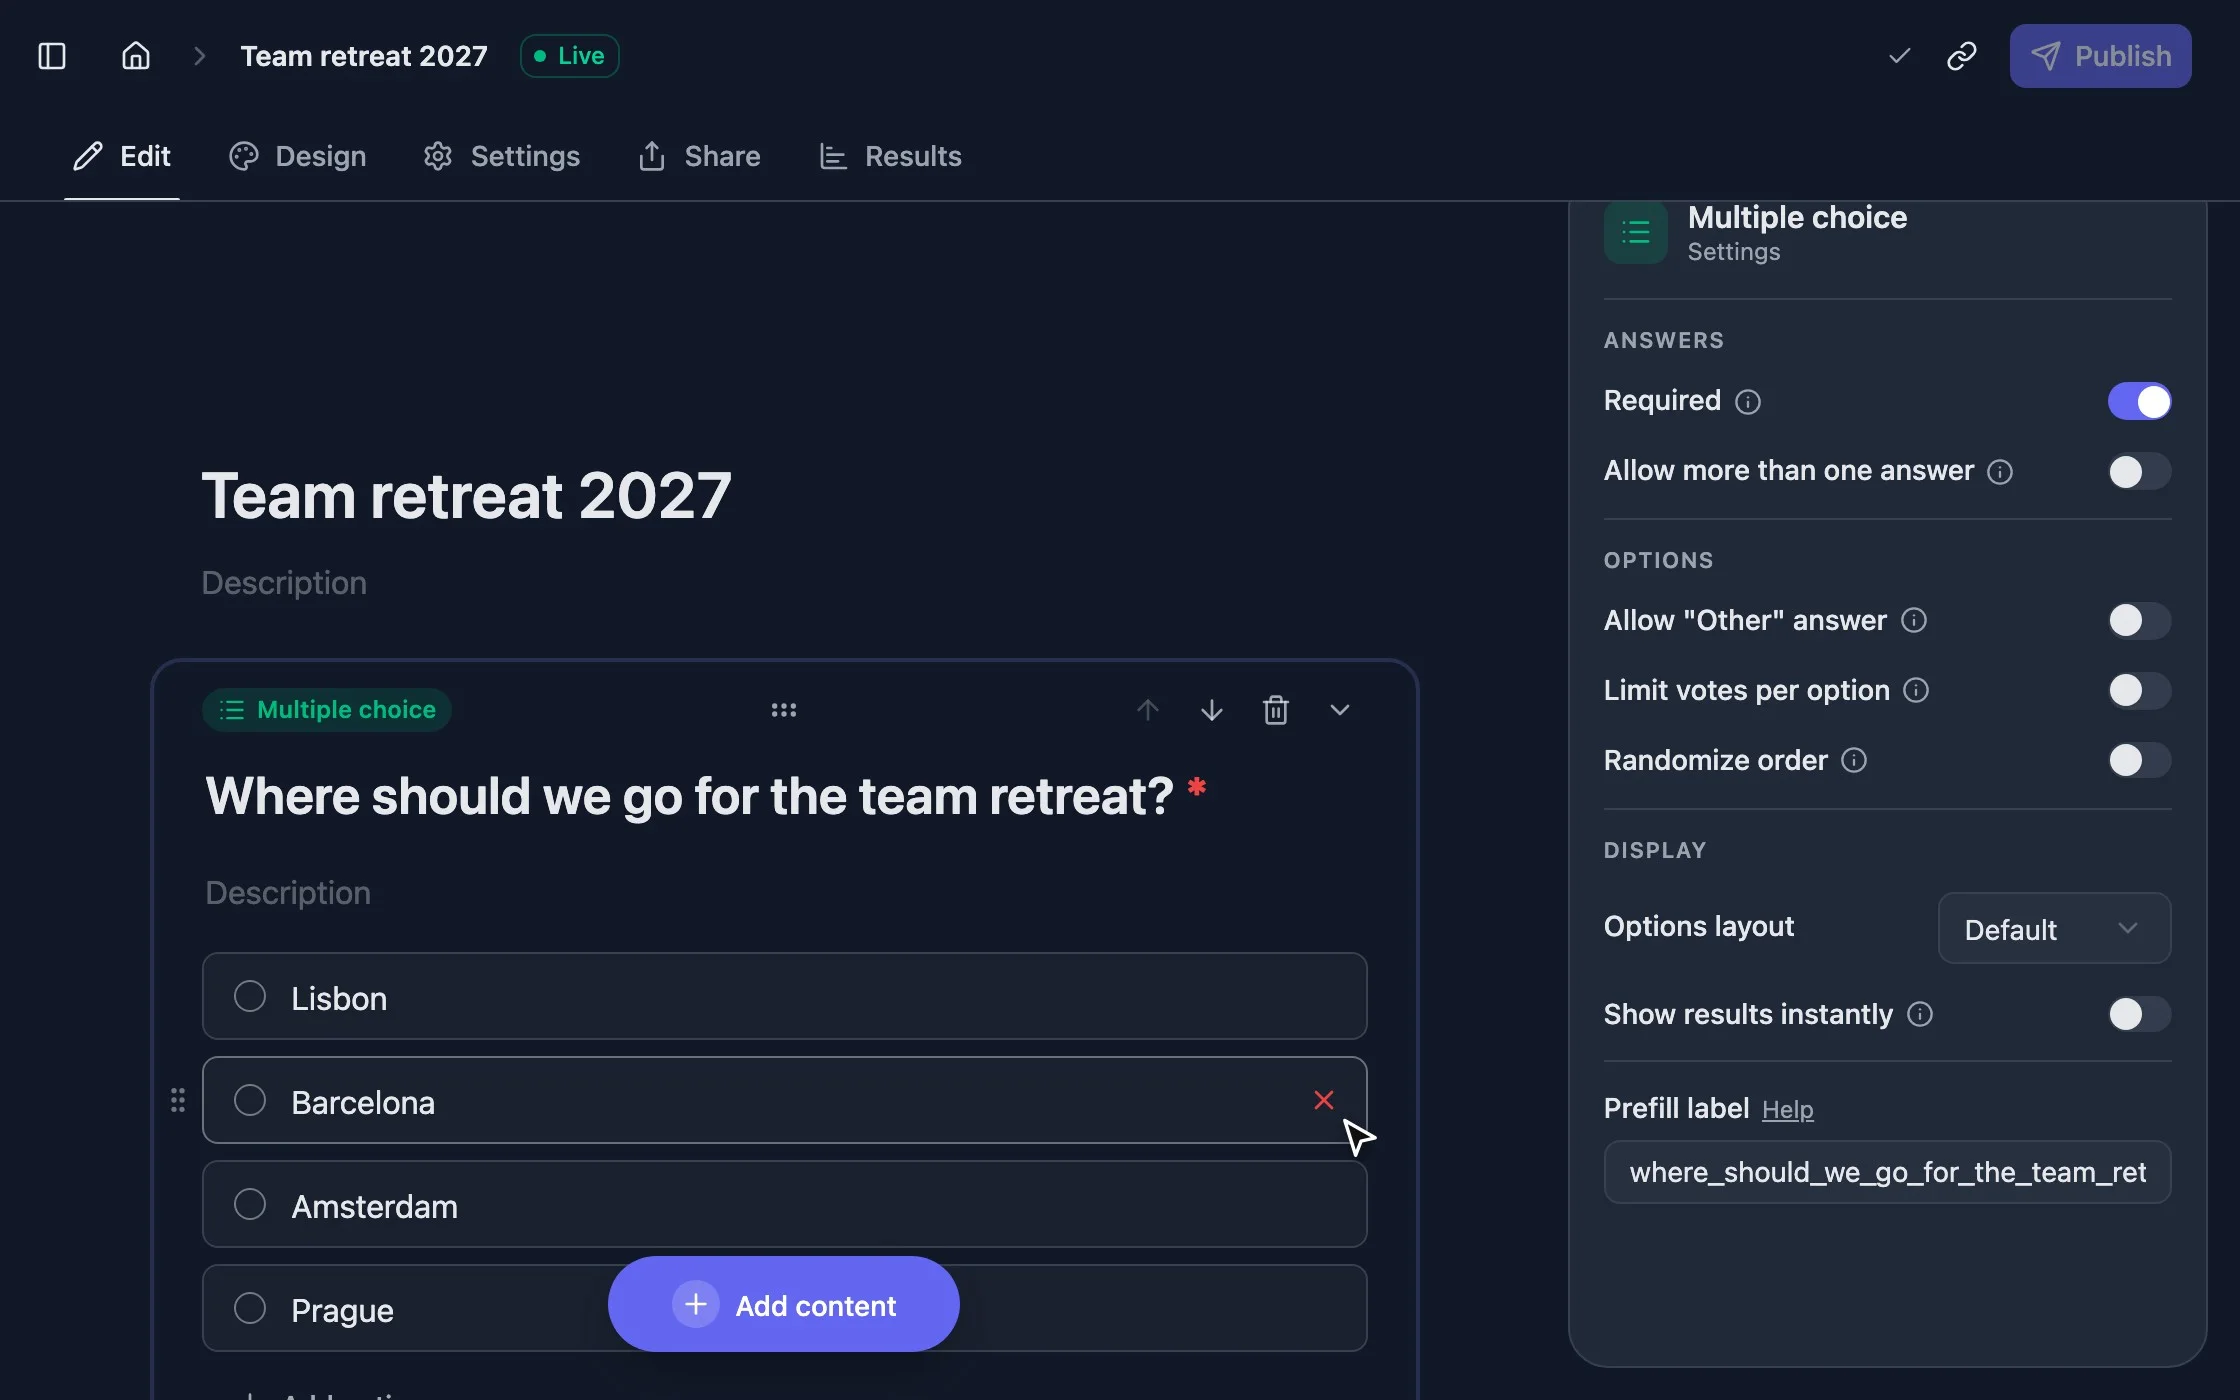
For a workshop with 20 seats, open the choice question’s settings and, under Options, turn on Limit votes per option. Once a slot is full, nobody else can pick it. The same works for volunteer shifts, tables or a potluck list.
For open lists where everyone should see who signed up, use a Sign-up sheet question: each person adds a row with the columns you choose.
Confirmations and deadlines
- 1 In the Settings tab, under Notifications, turn on Self email notifications to hear about each new registration.
- 2 Turn on Respondent email notifications so people get a confirmation with their answers.
- 3 Turn on Allow changing responses so people update their registration themselves instead of emailing you.
- 4 Under Open & close dates, close the form a few days before the event.
Share it and prefill what you know
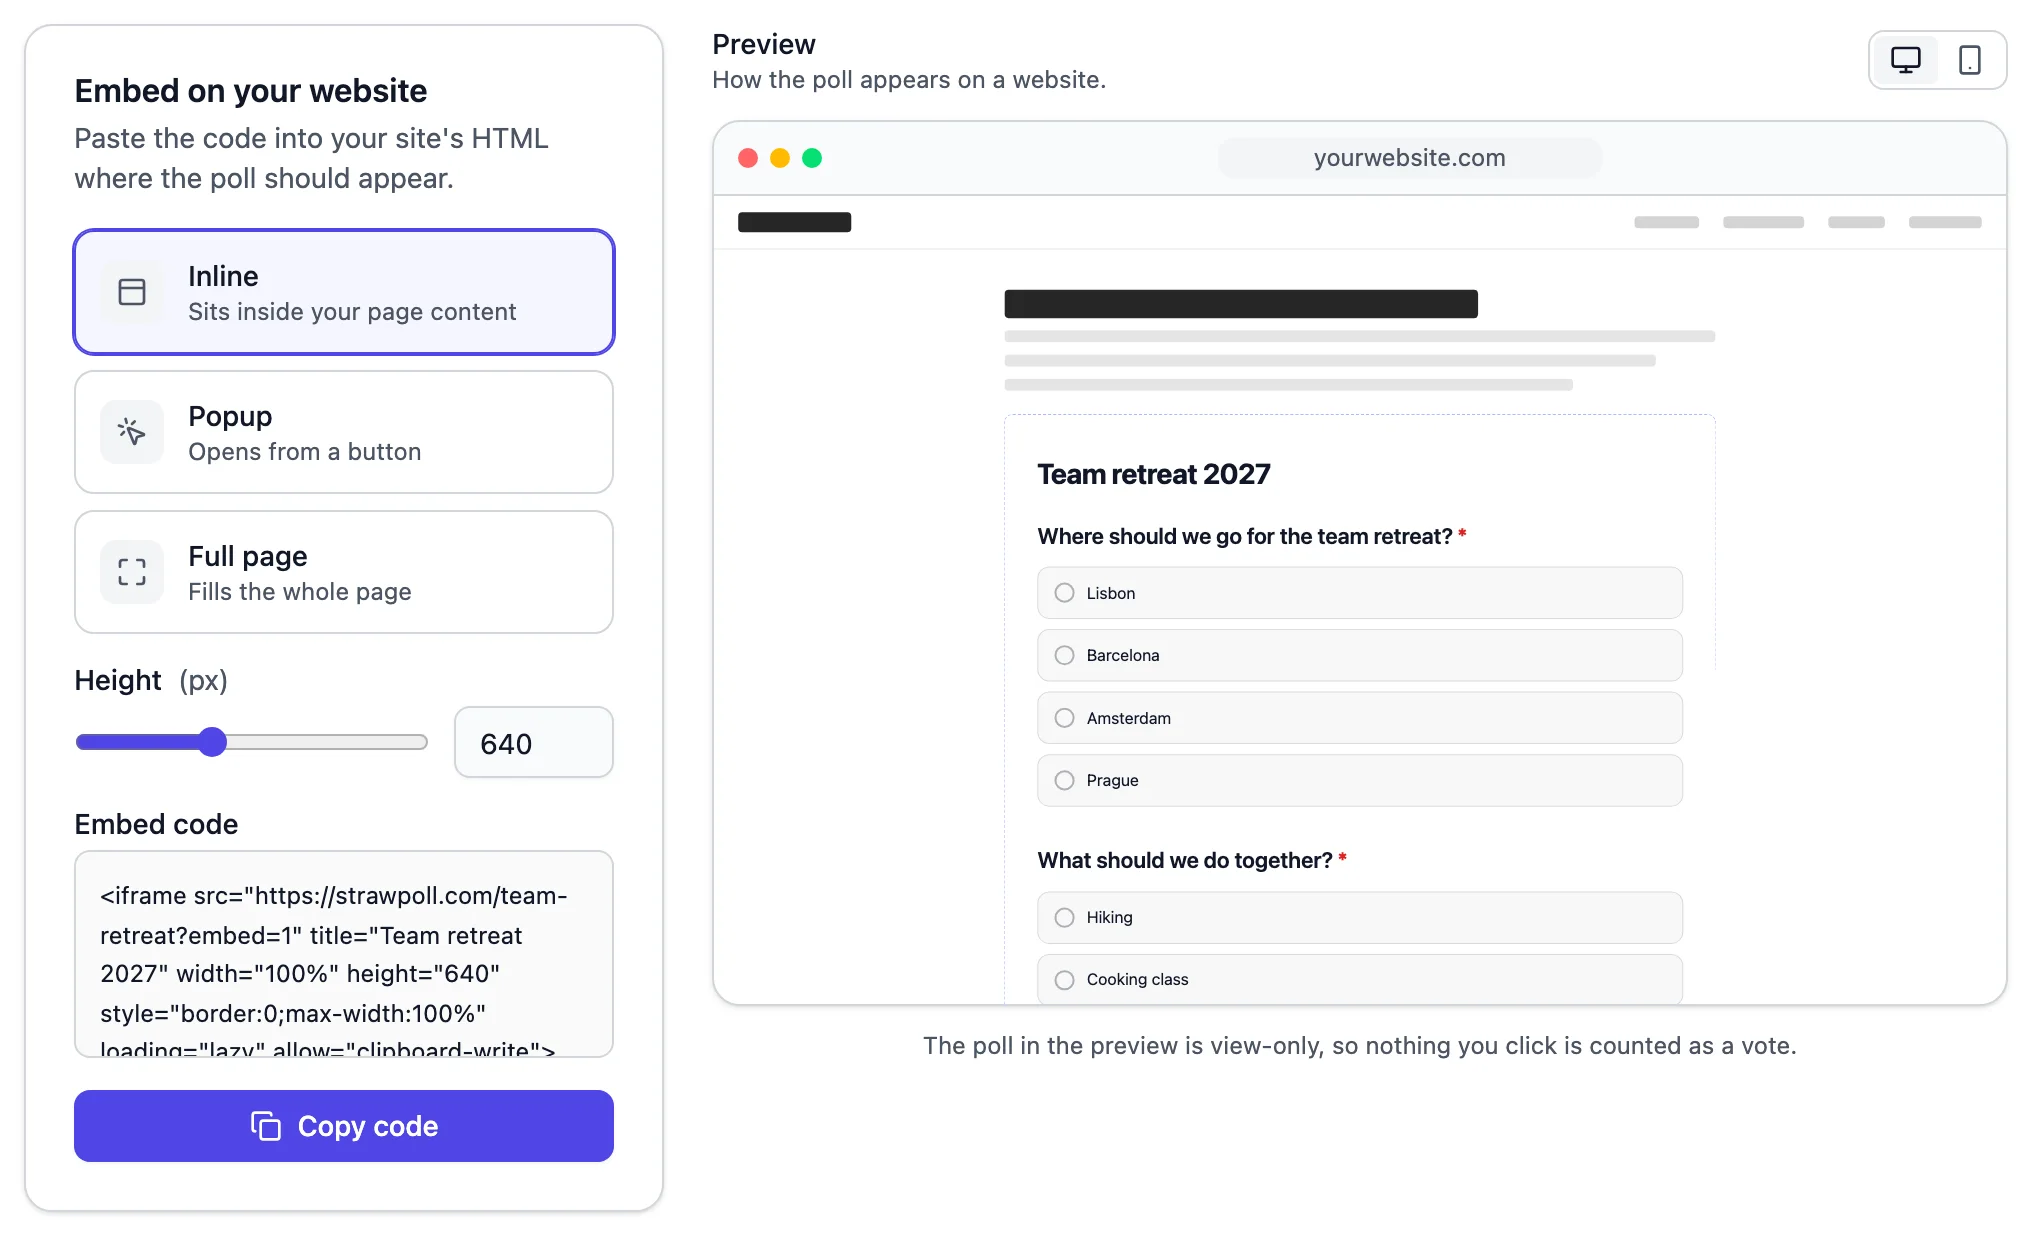
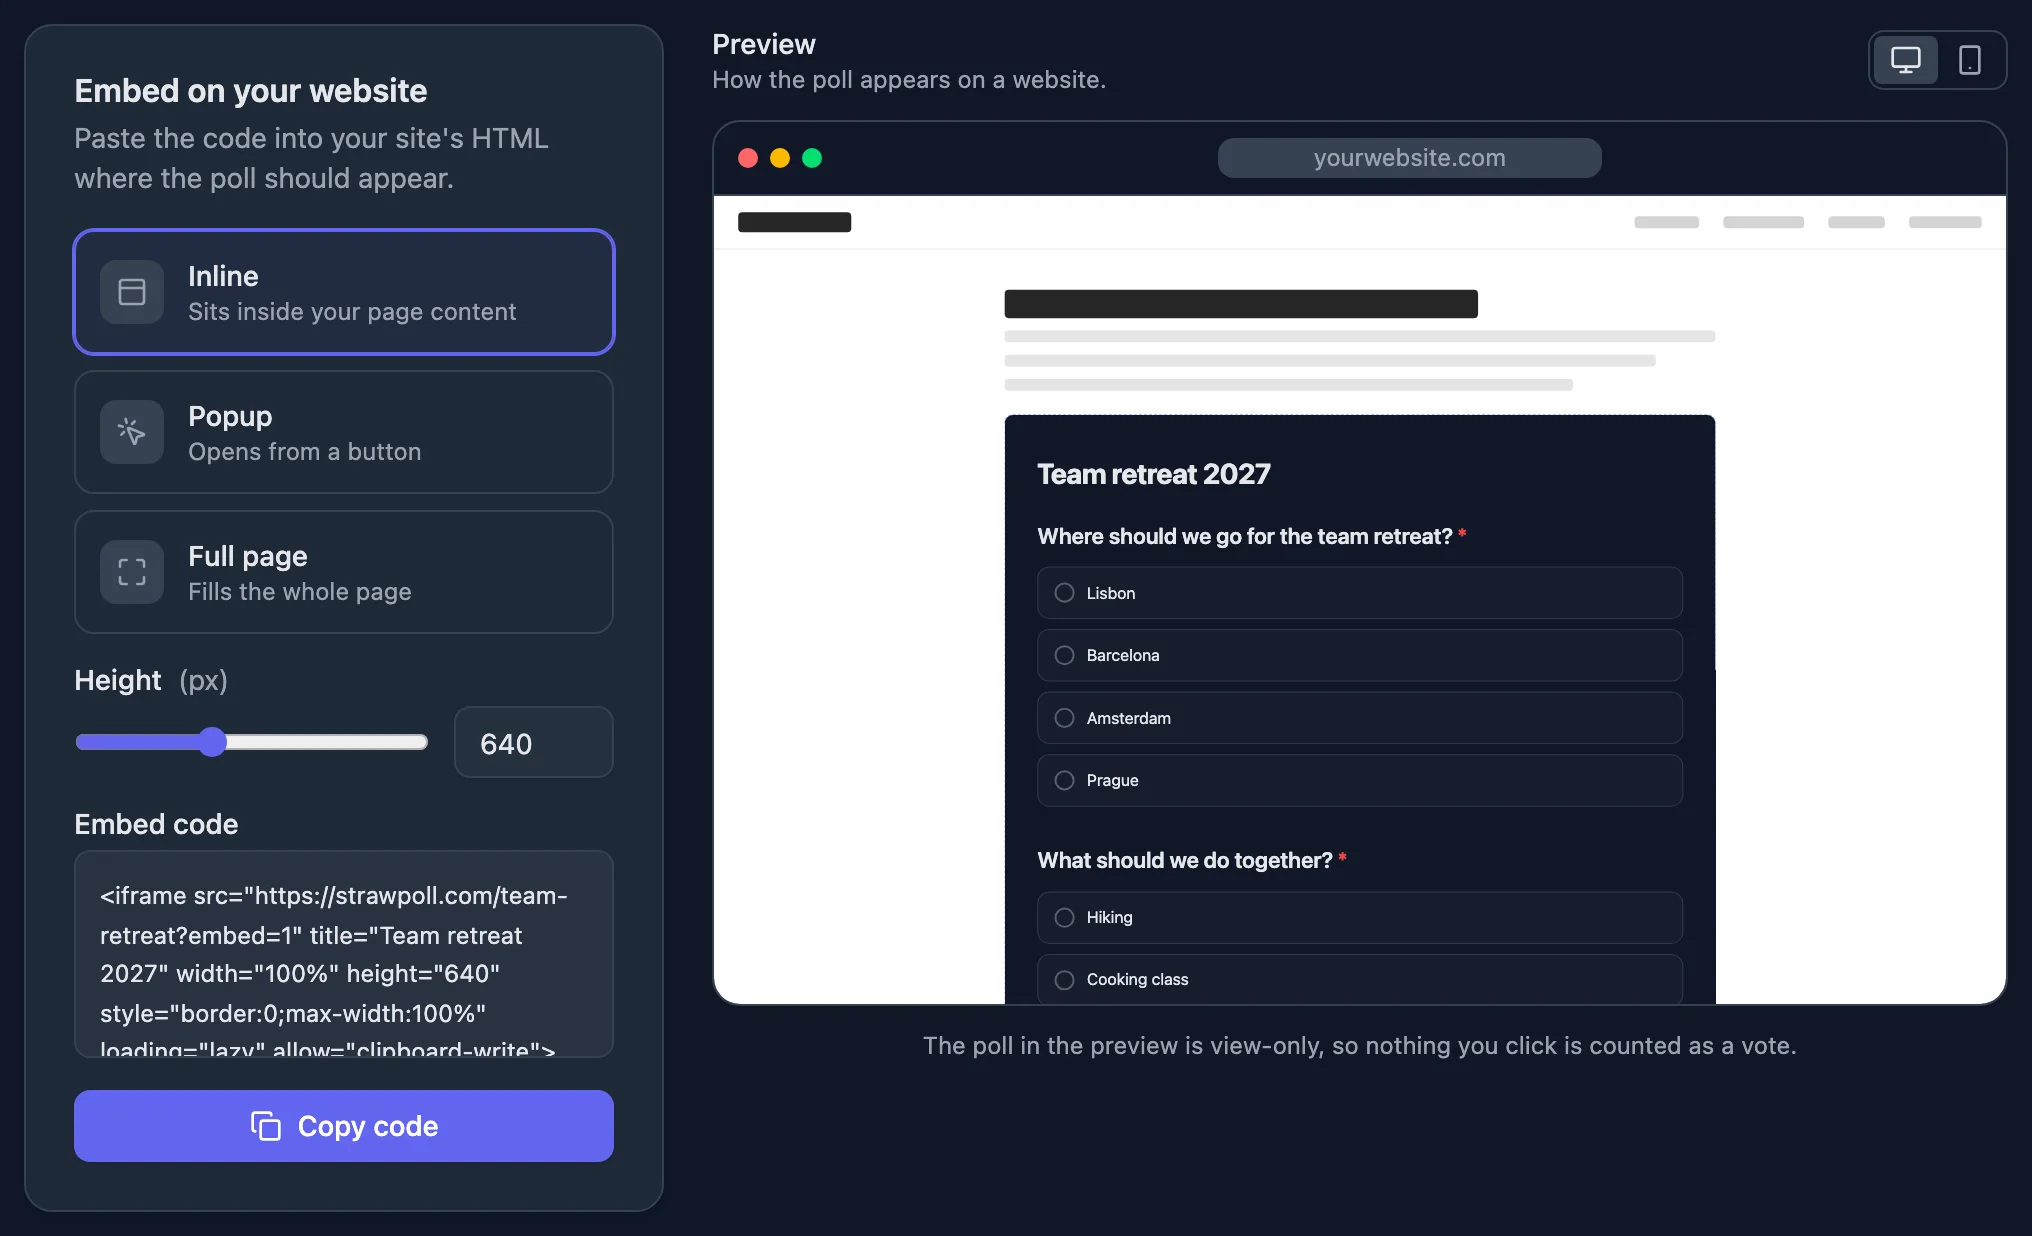
Share the link, print the QR code on a flyer or embed the form on your website. Themes with your colors and fonts are free; Pro adds your logo.
Every question can be answered ahead through the link. Find each question’s parameter under Prefill label, and fill in what you already know from your email tool or member list, so people only check and send.
After sign-ups close
Export the registrations as a CSV for the venue or the caterer, with each answer in its own column, or connect Google Sheets, Airtable or Notion to keep a live list. Save the form as a template, and next time you start from it instead of a blank page.